Hi !
Very simple tutorial to get started with functions in Substance designer ( Substance 3D designer )
The idea is to create a custom node which can always select one element of Flood Fill same if we change the input before.
Without the custom node we will have difficulty to select with precision one elements what we need
exemple:

The custom node use the number of elements to select precisely the one you want.

How to do this custom node ?
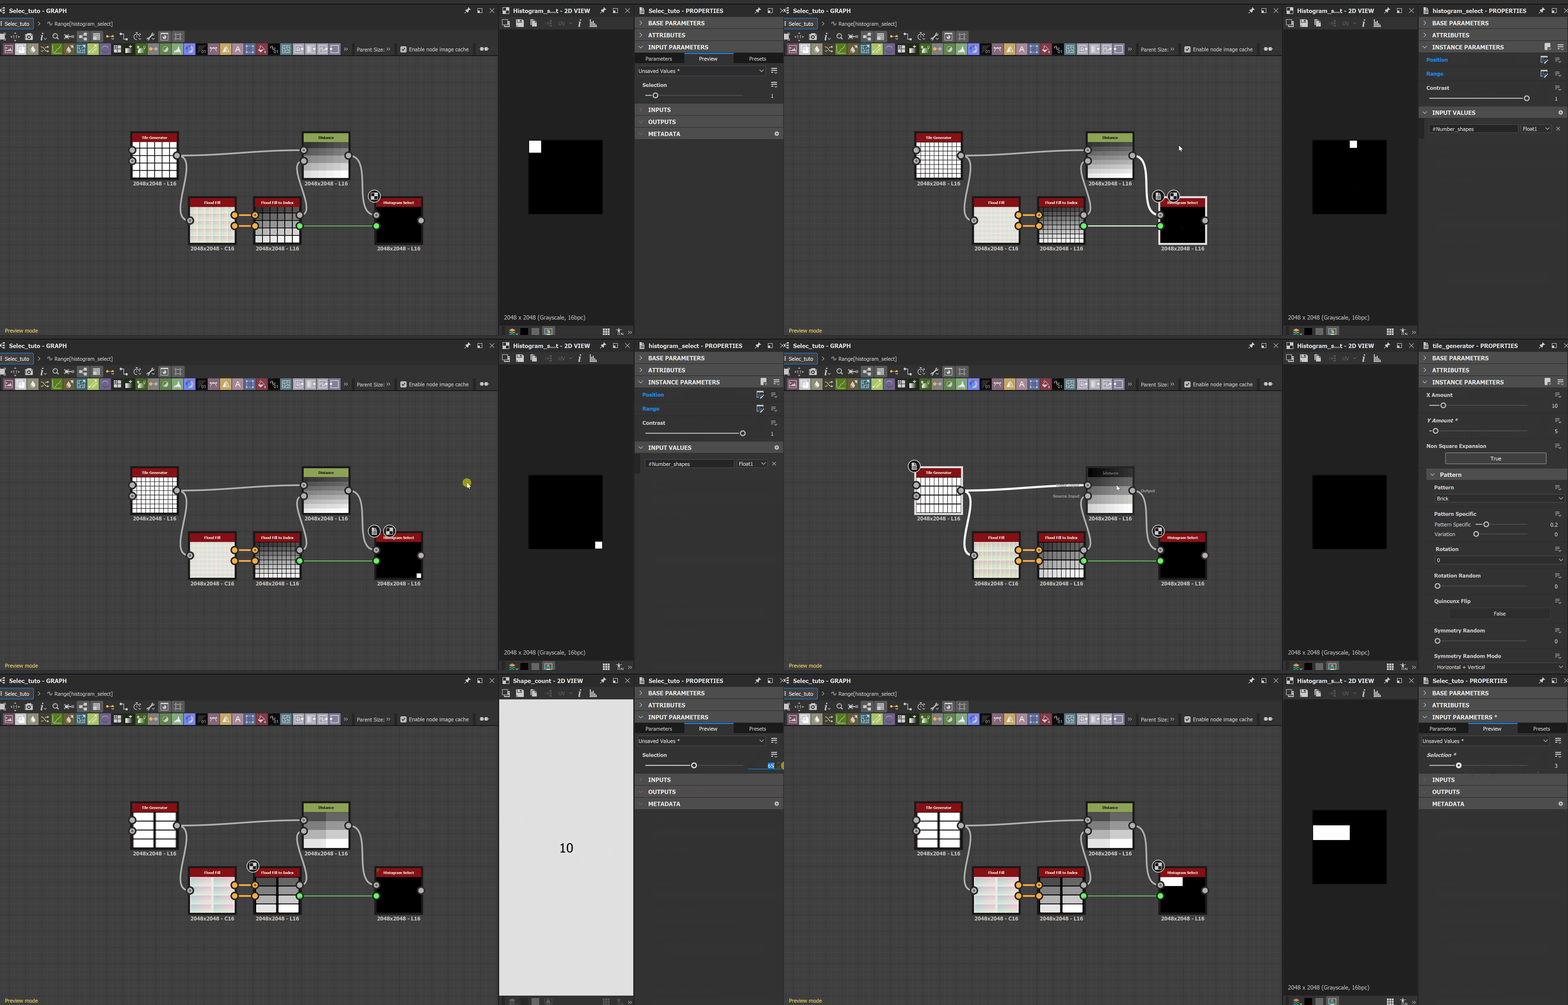
Final graph :
You see very simple :)

Start:
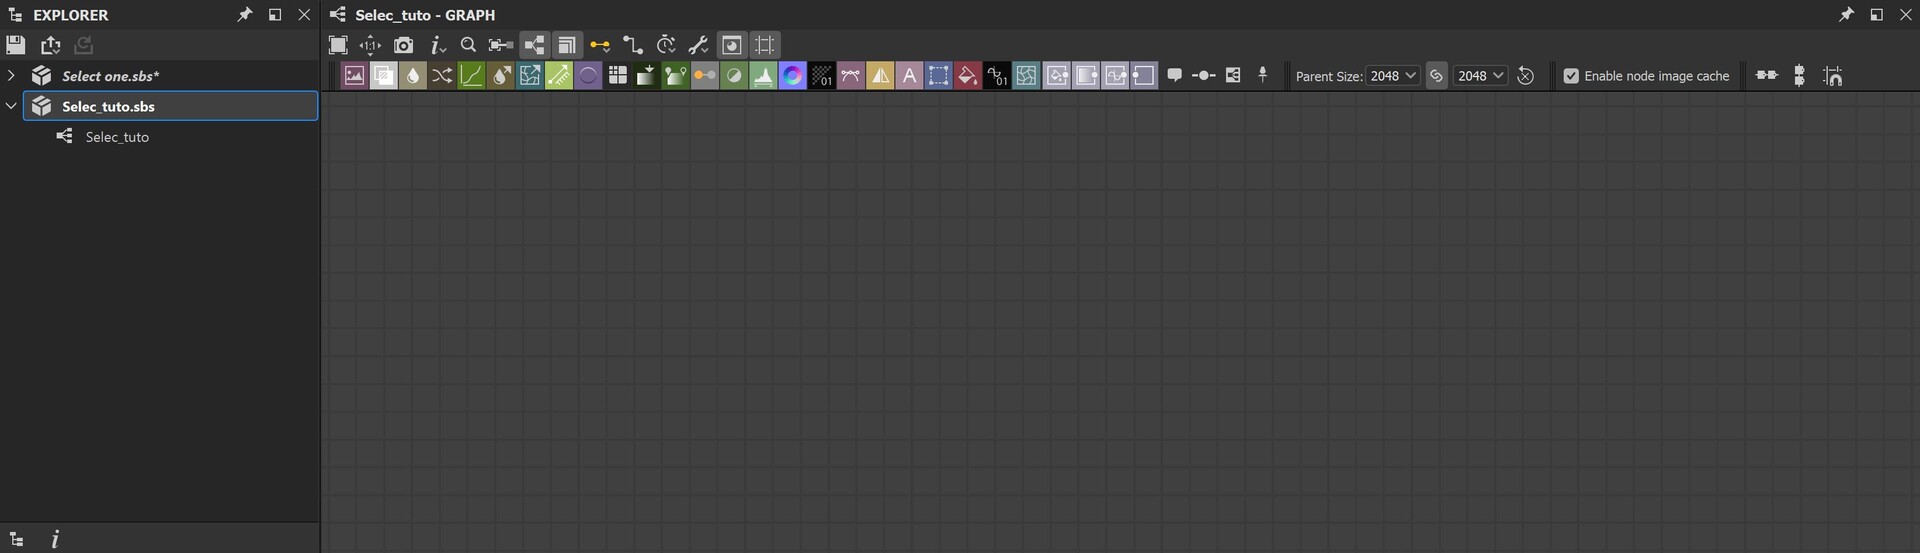
Create an empty graph a give a name :)
- Now we need to create tile generator, it will be our map for test the node. (When the custom node works we will replace by Input node )
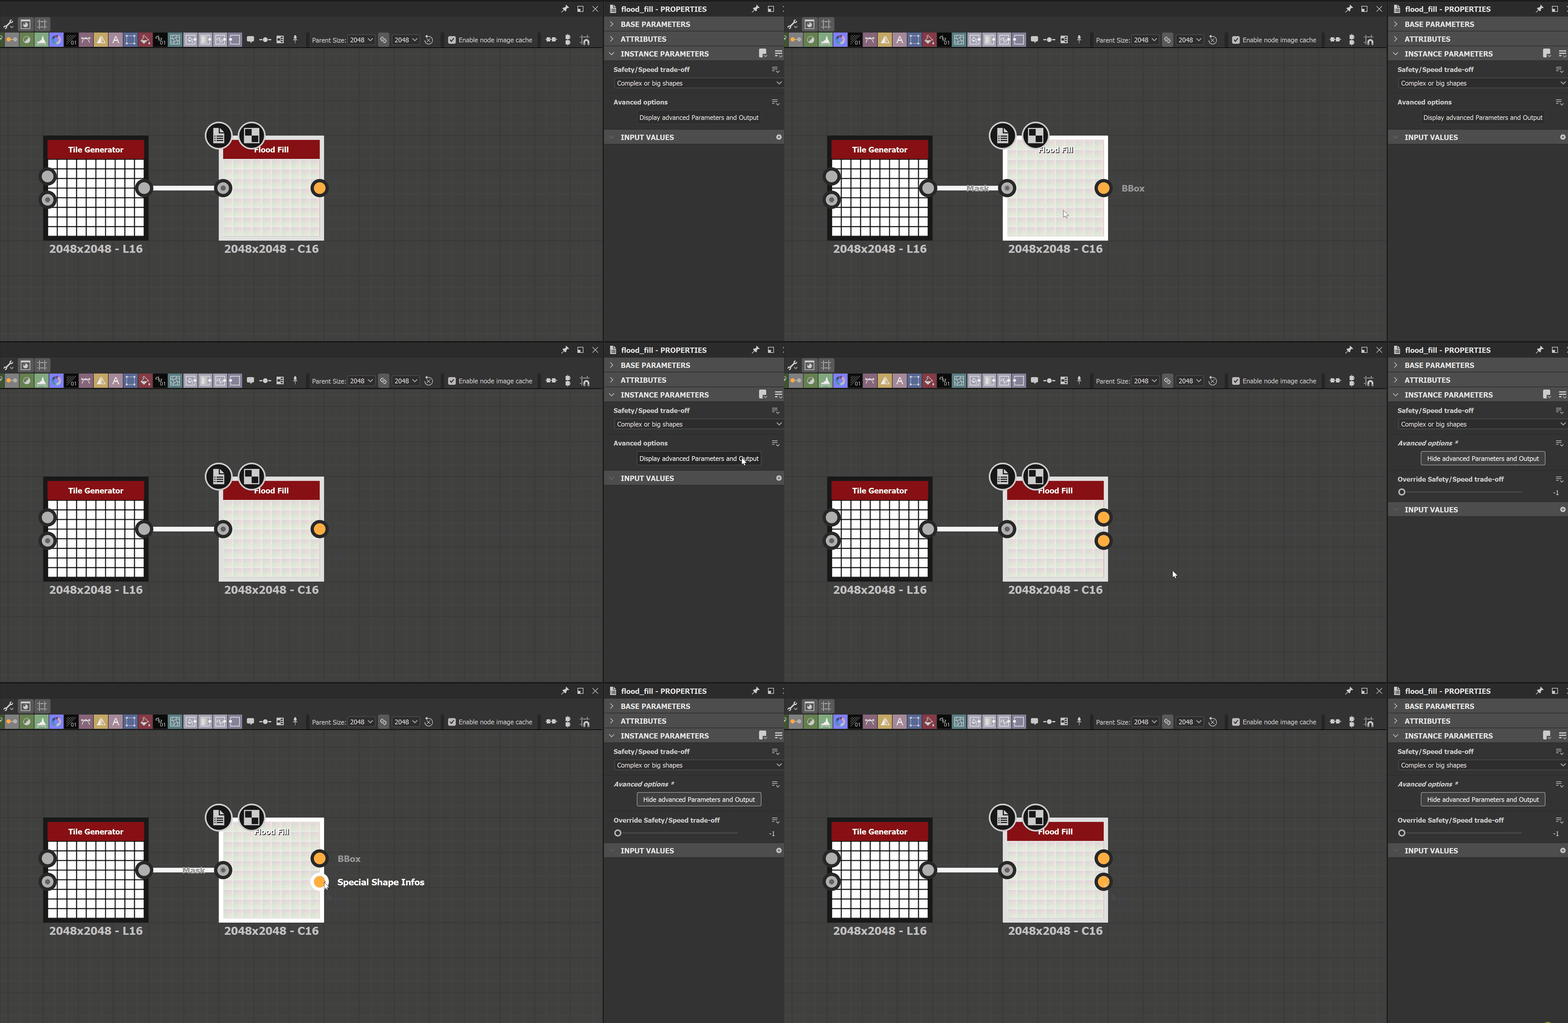
- Add a flood fill after the tile generator and use the option "display advanced parameters and output"
- Add the node Flood Fill to Index, and link. You see now we have the information about number of elements
-
Add Distance node with maximum distance at 256
- Add the node Histogram select and add one input value on it.
-
Link shape count of flood fill to index to your input, we can rename the input for "Number_shapes"
- We need to create an other input to drive the selection . The selection will be a real number like, 1, 2 ,3 4 ,5 ... so the type is "integer" on Substance Designer the color for the integer type is Yellow. The decimal number are the type "float" the color are Green.
-
Double click on the background and add an input of type "integer"
-
Now we have all ingredient for enter in the function part :)
Begin with the position of Histogram Select, chose Empty function to open function graph
-
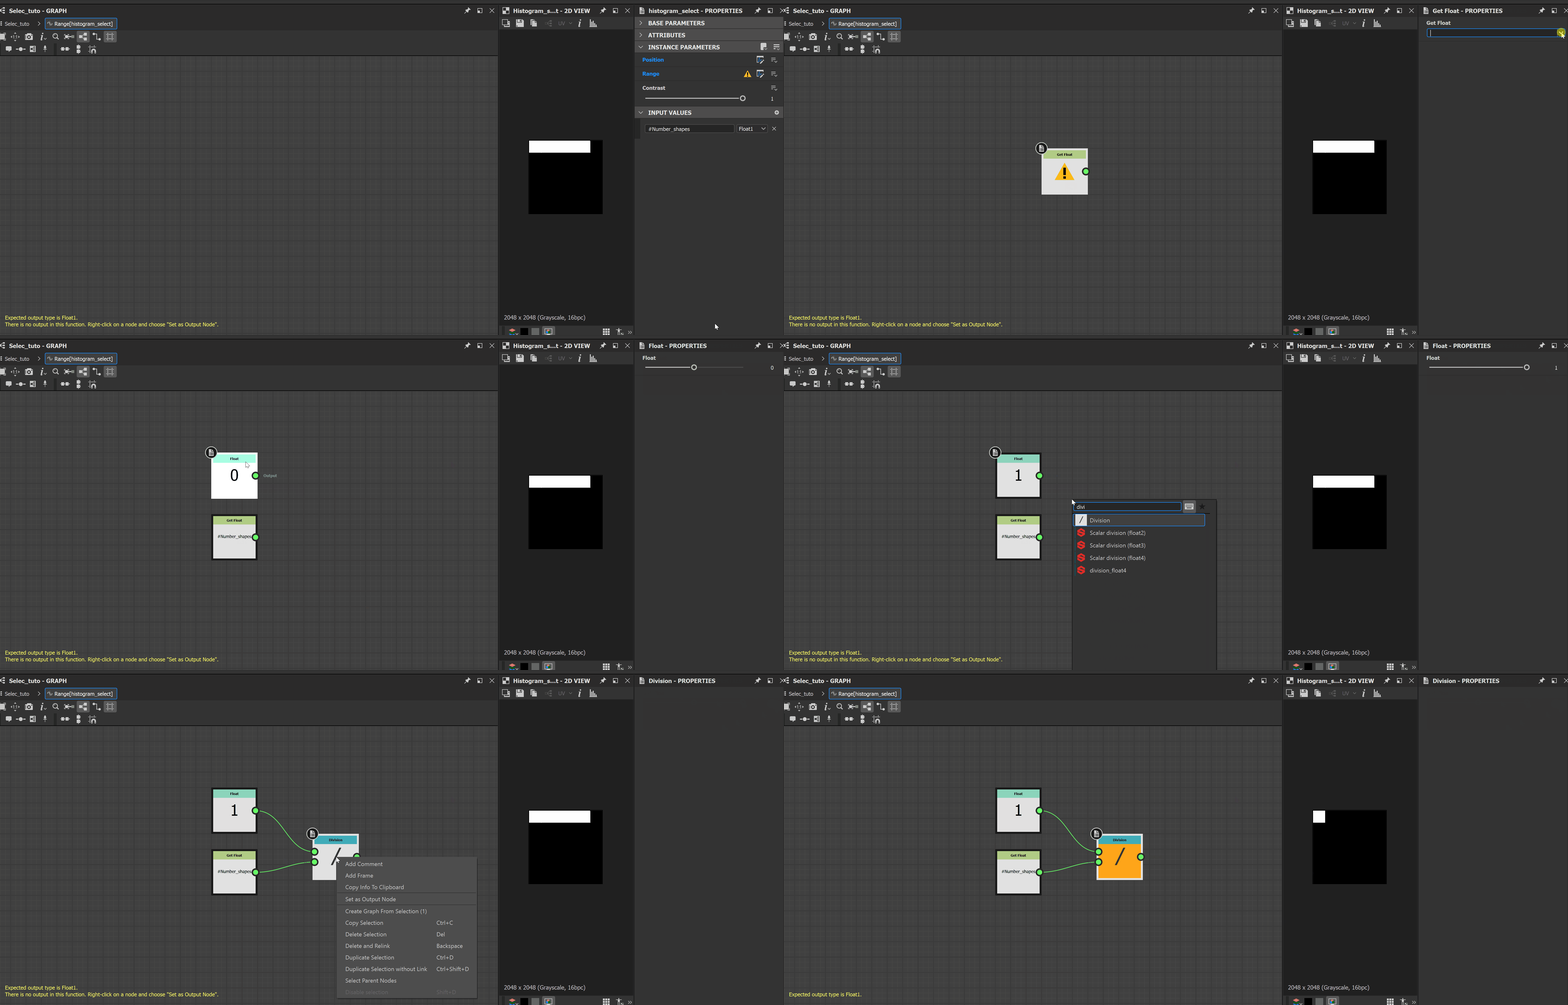
So, the idea is to divide number of shape with the number we want to select.
use "Get Integer" to recuperate the integer value that we created / exposed/!\ We can't do operation between two differente type : float and integrer
- if we look at the bottom left of your graph window, we see that this graph ask Float1. Float 1 means it's only one of number decimal value. (Float 2 need two number decimal, Float 3 need three number decimal and Float 4 four number decimal ). So we need to transform the Integrer to Float for can do the division.
-
Use the node "to Float"
-
We can do the division and set it as output node
-
We need to reduce the range of the histogram select. if we play with our "Selection" exposed, we see the position change.
-
If we change the tiling we see that the range are not good, so we need an other function to fixe that :)
Excepte if you have more than 100 shapes, in this case you can do this like it, and you will be so SMART ;D
-
Enter in the Function graph of Range.
-
The idea is simply to divide one by the number of elements. Use "Float " for add a Float value
-
Our functions work correctly.
-
add a Blend node at multiply
-
we need to replace the tile generator with the "Grayscale input", so that the user uses his own.
Add an "Output" node at the end, so that the user retrieves the selection and another "Output" so that he knows how many elements there are.

-
We can save the graph and publish the .sbsar and use our node ! :)